The Social Assurance platform provides several functions to help edit and enhance your social post images, including the Photo Editor feature.
To get to the Photo Editor, first, attach an image to your post by dragging and dropping or clicking the plus icon in the media box. Click on the image, then select the option that says "Editor" to open the photo editor.

Social Assurance's Photo Editor allows you to prep and personalizes your photo(s) for social sharing. The Photo Editor features include:
- Stock photos
- Cropping
- Image filters
- Adjusting image levels
- Addition of text
- FDIC and Equal Housing Lender stickers
- Paintbrush
- Image blur features
- Image frames
As you make edits to your image, always make sure to hit the "Save" button in the upper-right corner with each edit.

Crop
There are several options to help you crop and position your image for social posting. Cropping features include:
- Default - If at any time you decide you don't like your cropping changes, click on "Reset to Default" to get it back to where you started.
- Custom - Modify the image to your desired size.
- Ratios - You can choose from square, 4:3, or 16:9 ratio sizes.
- Social - You can create platform-specific images by selecting cropping options for Facebook, Twitter, and Instagram.
- Rotation - The rotation feature above the sizing options allows you to rotate the image.
- Flip - Above the image, you will find the ability to rotate and flip your image.


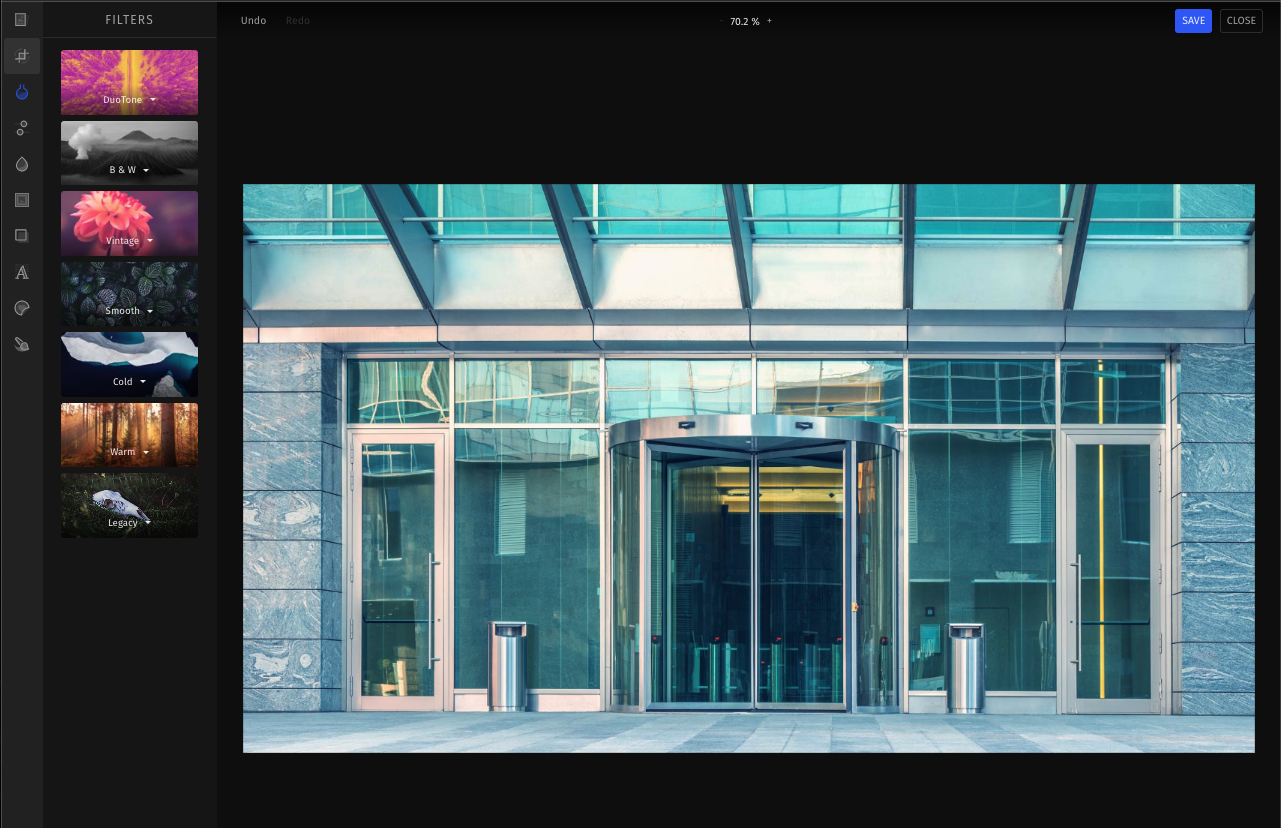
Filters
The filter feature allows you to provide colorized filters to the image. You can enhance or decrease the filter intensity by sliding the intensity bar above the filters to the left or right.

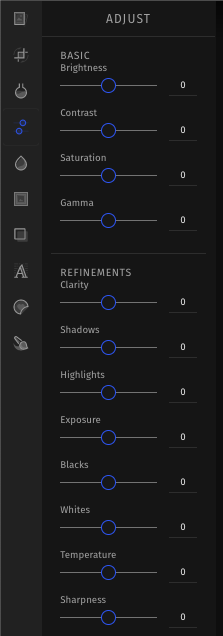
Adjust
The Adjust feature allows you to adjust the image exposure and lighting. Adjustment options include:
- Brightness
- Contrast
- Saturation
- Gamma
- Clarity
- Shadows
- Highlights
- Exposure
- Blacks
- Whites
- Temperature
- Sharpness
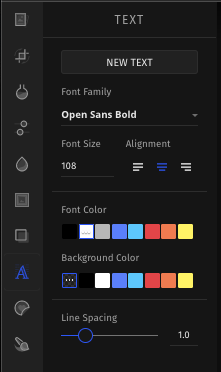
Text
You can easily add text to your image with the text feature. When adding your text, you can choose your font style, size and text alignment. To the right, you will see options for a Foreground and Background color. The Foreground is the color of your text. The Background defaults to no color. However, if you would like a block of color behind your text, you may choose a color by selecting Background.
Stickers
To help with your image compliance, the Social Assurance image editor provides pre-loaded Member FDIC and Equal Housing Lender stickers. Both sticker images are offered in black or white eps formats to format to your photo. Sticker sizes are also adjustable. You can also add your own custom stickers to the selection. This might include additional disclaimers, logos or branding that you would like included with your images.

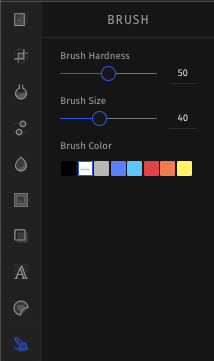
Brush
The Brush feature is a standard paintbrush for those who want to customize their photos. Adjust your brush size by sliding the thickness bar at the bottom of the image. Change the brush color by clicking on the color pallet in the lower-right corner.
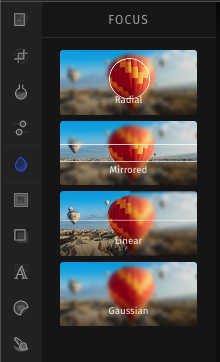
Focus
Add a cool blur enhancement to your image with the focus feature. There are four blur effects to choose from - Radial, Mirrored, Linear, and Gaussian.
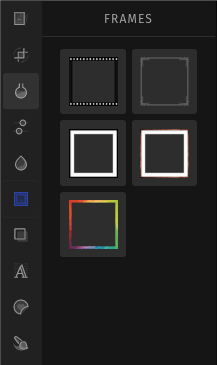
Frame
Give your photo a more classic personality with the Frame feature. There are five frame options to choose from.